티스토리 뷰
안녕하세요 :) Zedd입니다.
Resource를 포함한 Package를 만들어서 해당 Package를 사용중인 프로젝트에서
어떻게 Resource를 불러오는지 공부해보려고 합니다.
# Swift Package만들기
Resource용으로 Package를 만들어보겠습니다.
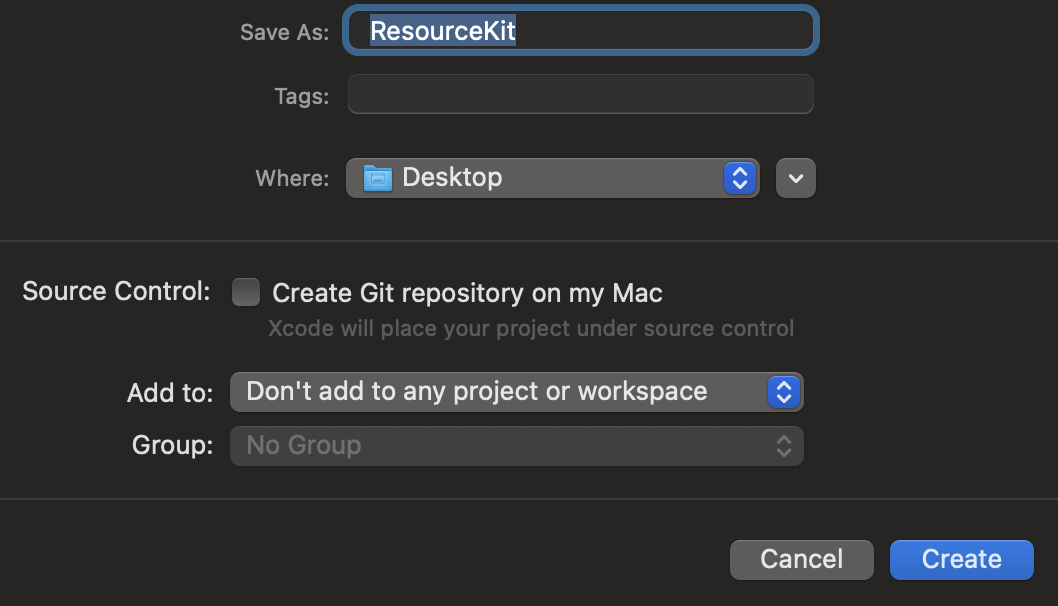
만들어주고, Apple에 따르면


뭐 이런것들을 Resoucre라고 하는 것 같습니다.
일단..xcassets랑..Json파일, 그냥 이미지 파일을 넣어주겠습니다.

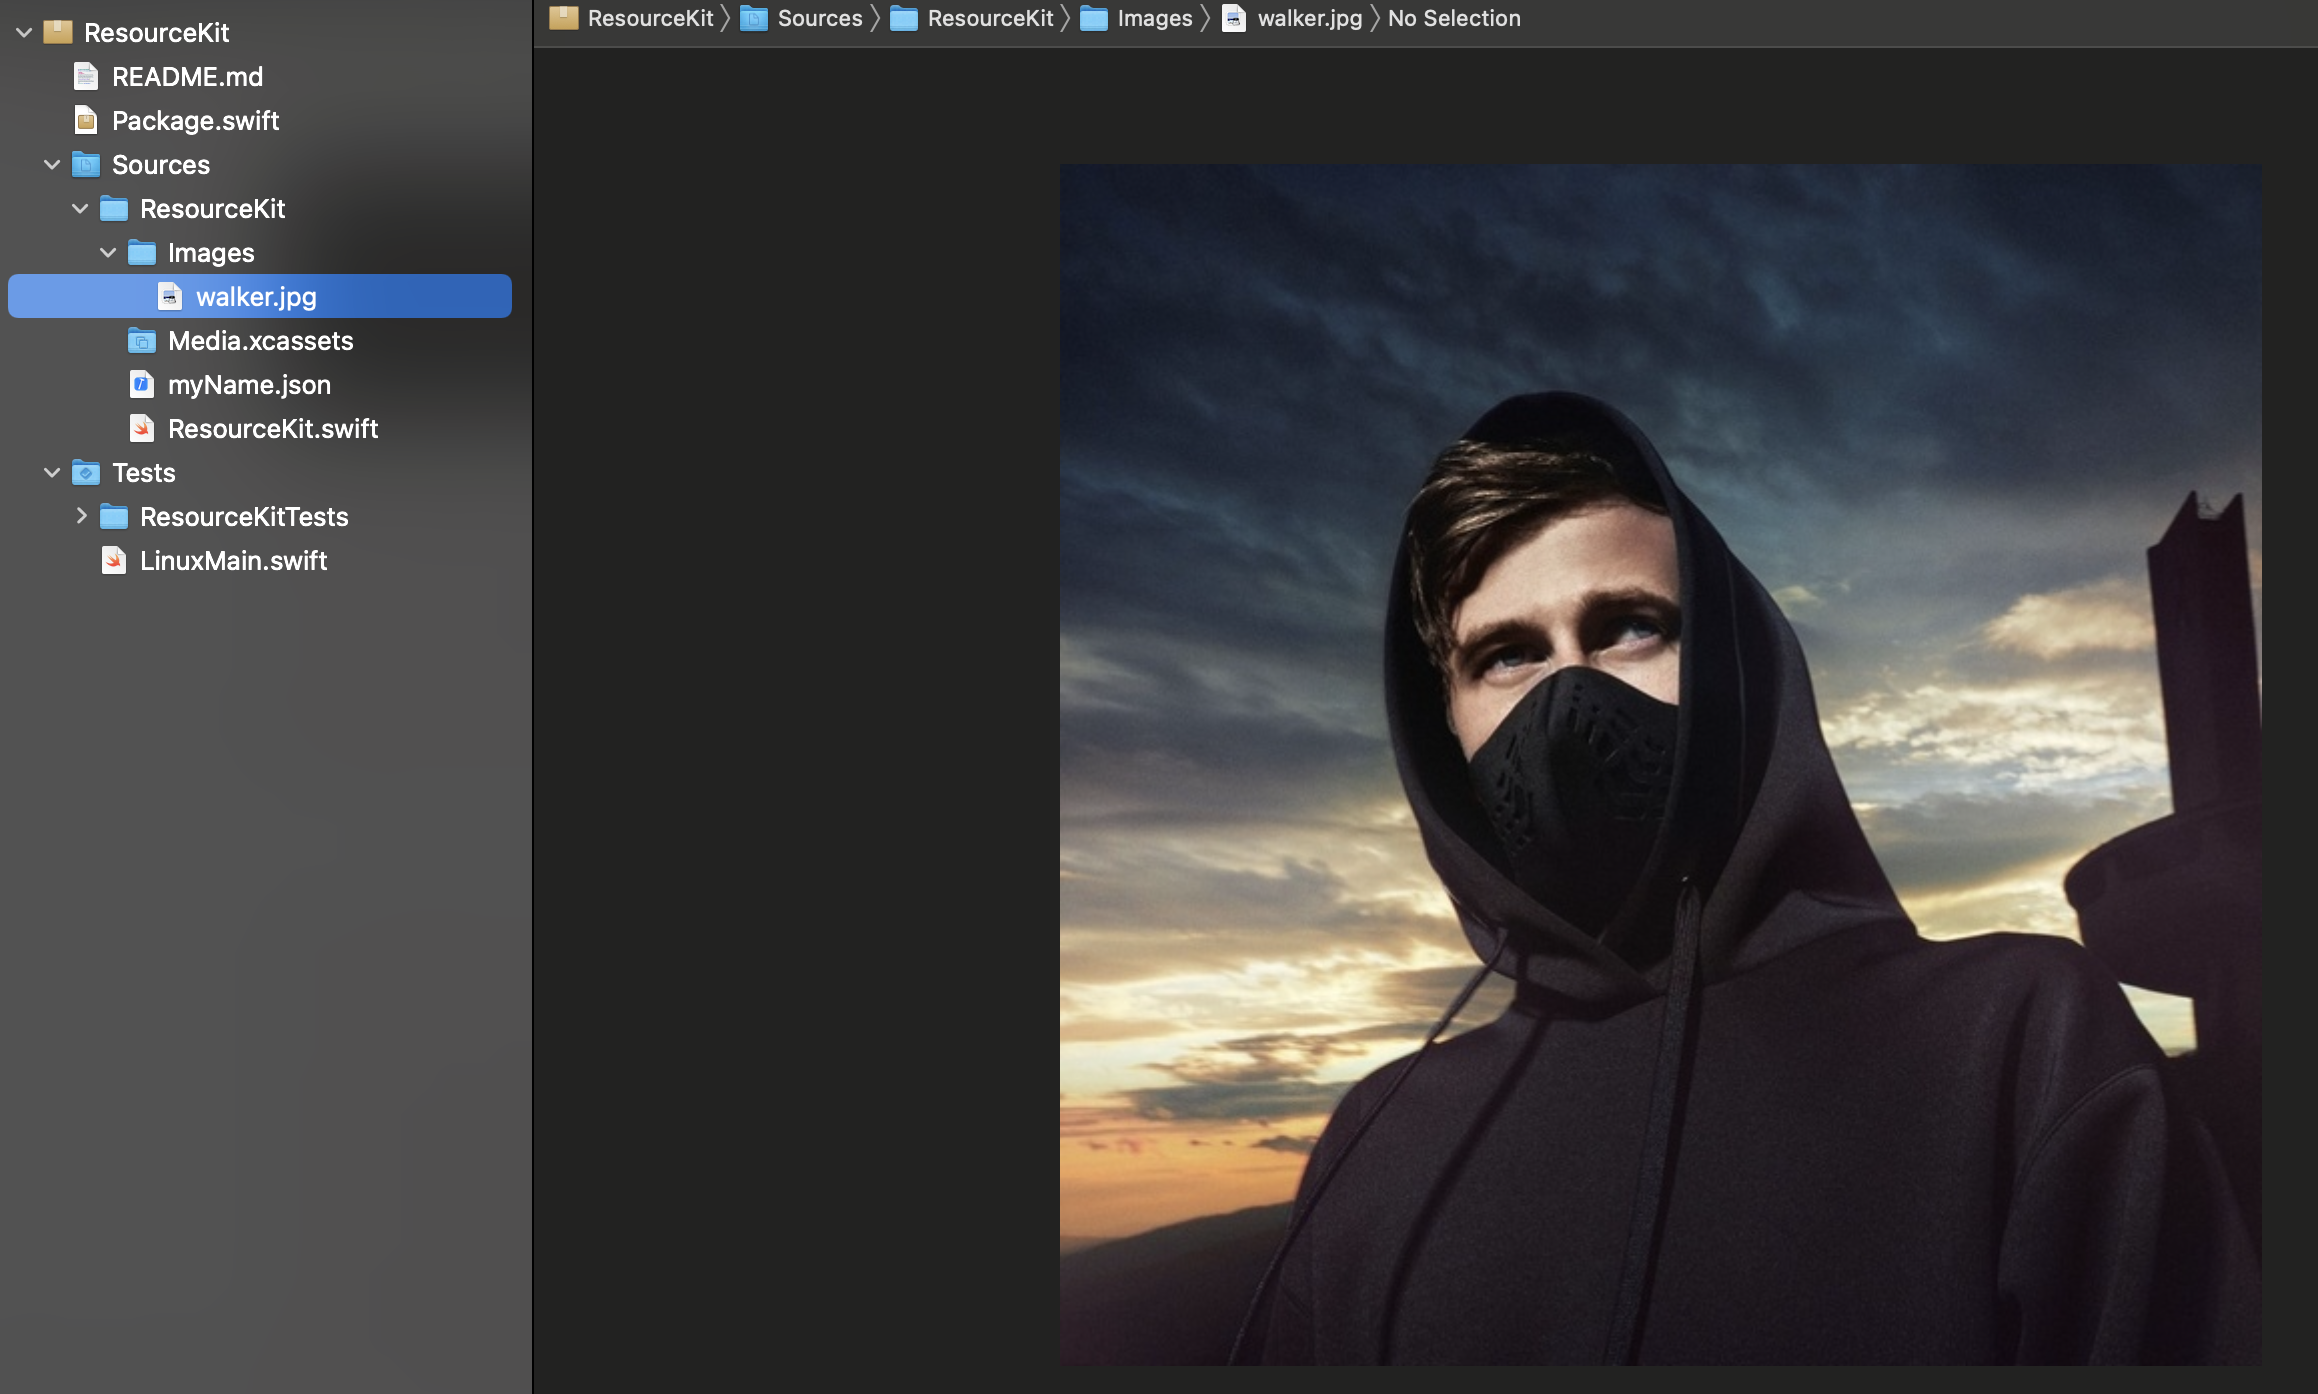
이미지는 하나는 xcassets에 있는거고
나머지 이미지는 Images라는 디렉토리 안에 있습니다.
오늘은 요 Package를 github에 안올리고 Local Swift Package로 사용해보겠습니다. ㅎ
절대 귀찮아서 아님ㅎ
# 내 프로젝트에 Local Swift Package추가
지금 1) Package를 사용하고 싶은 프로젝트 2) Swift Package 이렇게 2개의 폴더가 있을텐데,
1. Package를 사용하고 싶은 프로젝트을 열고
2. Swift Package를 드래그 앤 드롭으로 추가
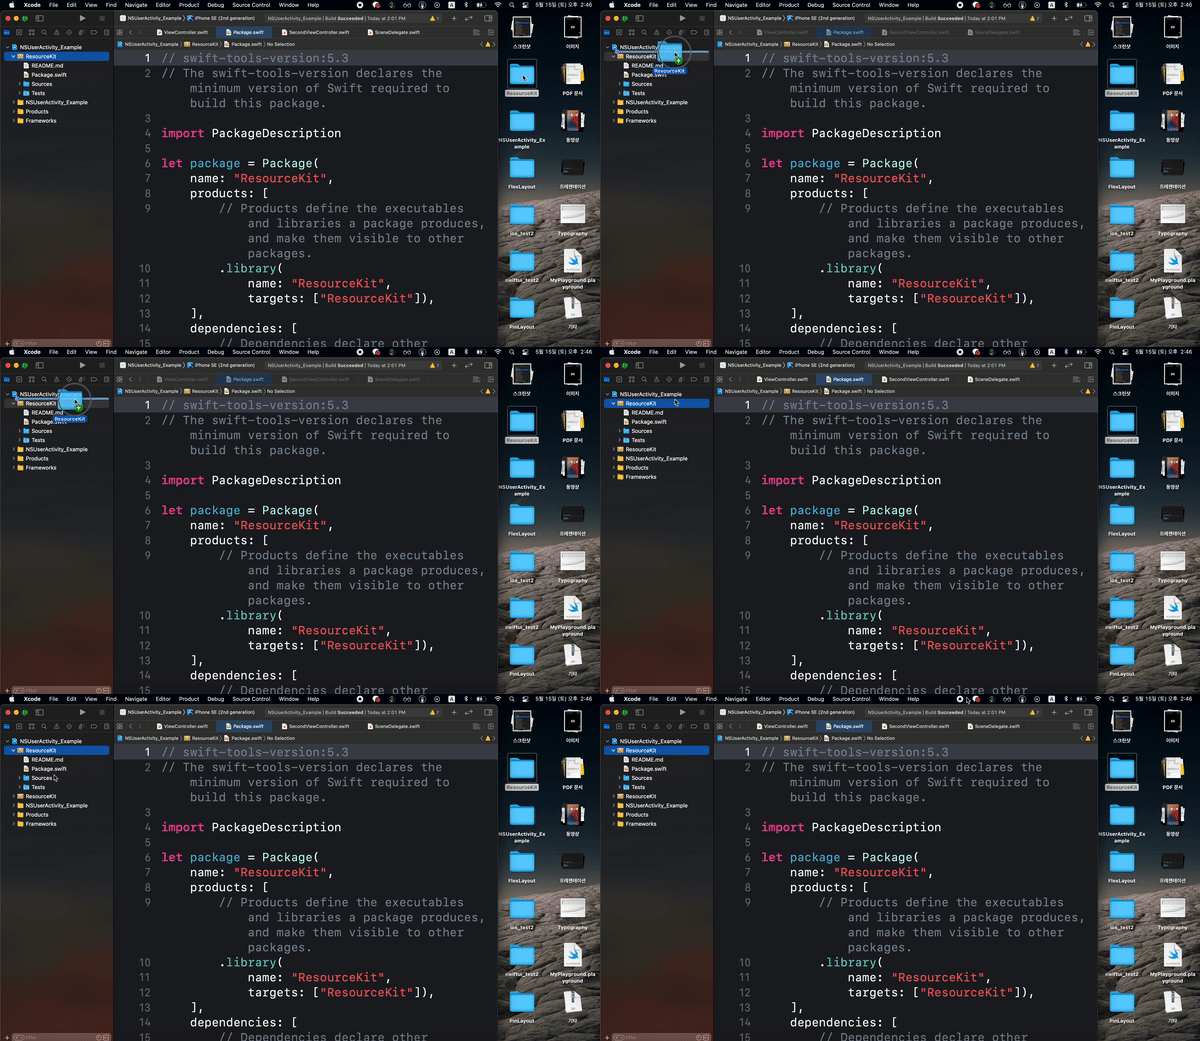
암튼 이렇게 드래그 했으면
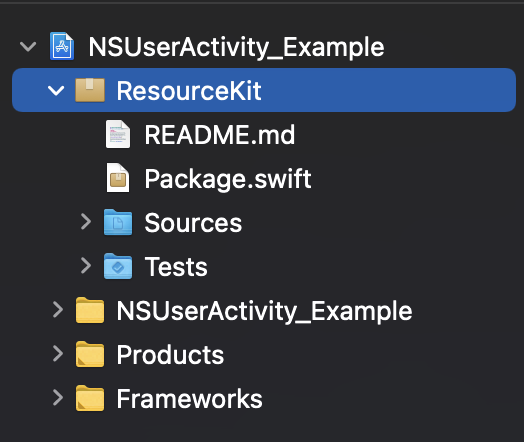
요렇게 됐을텐데,
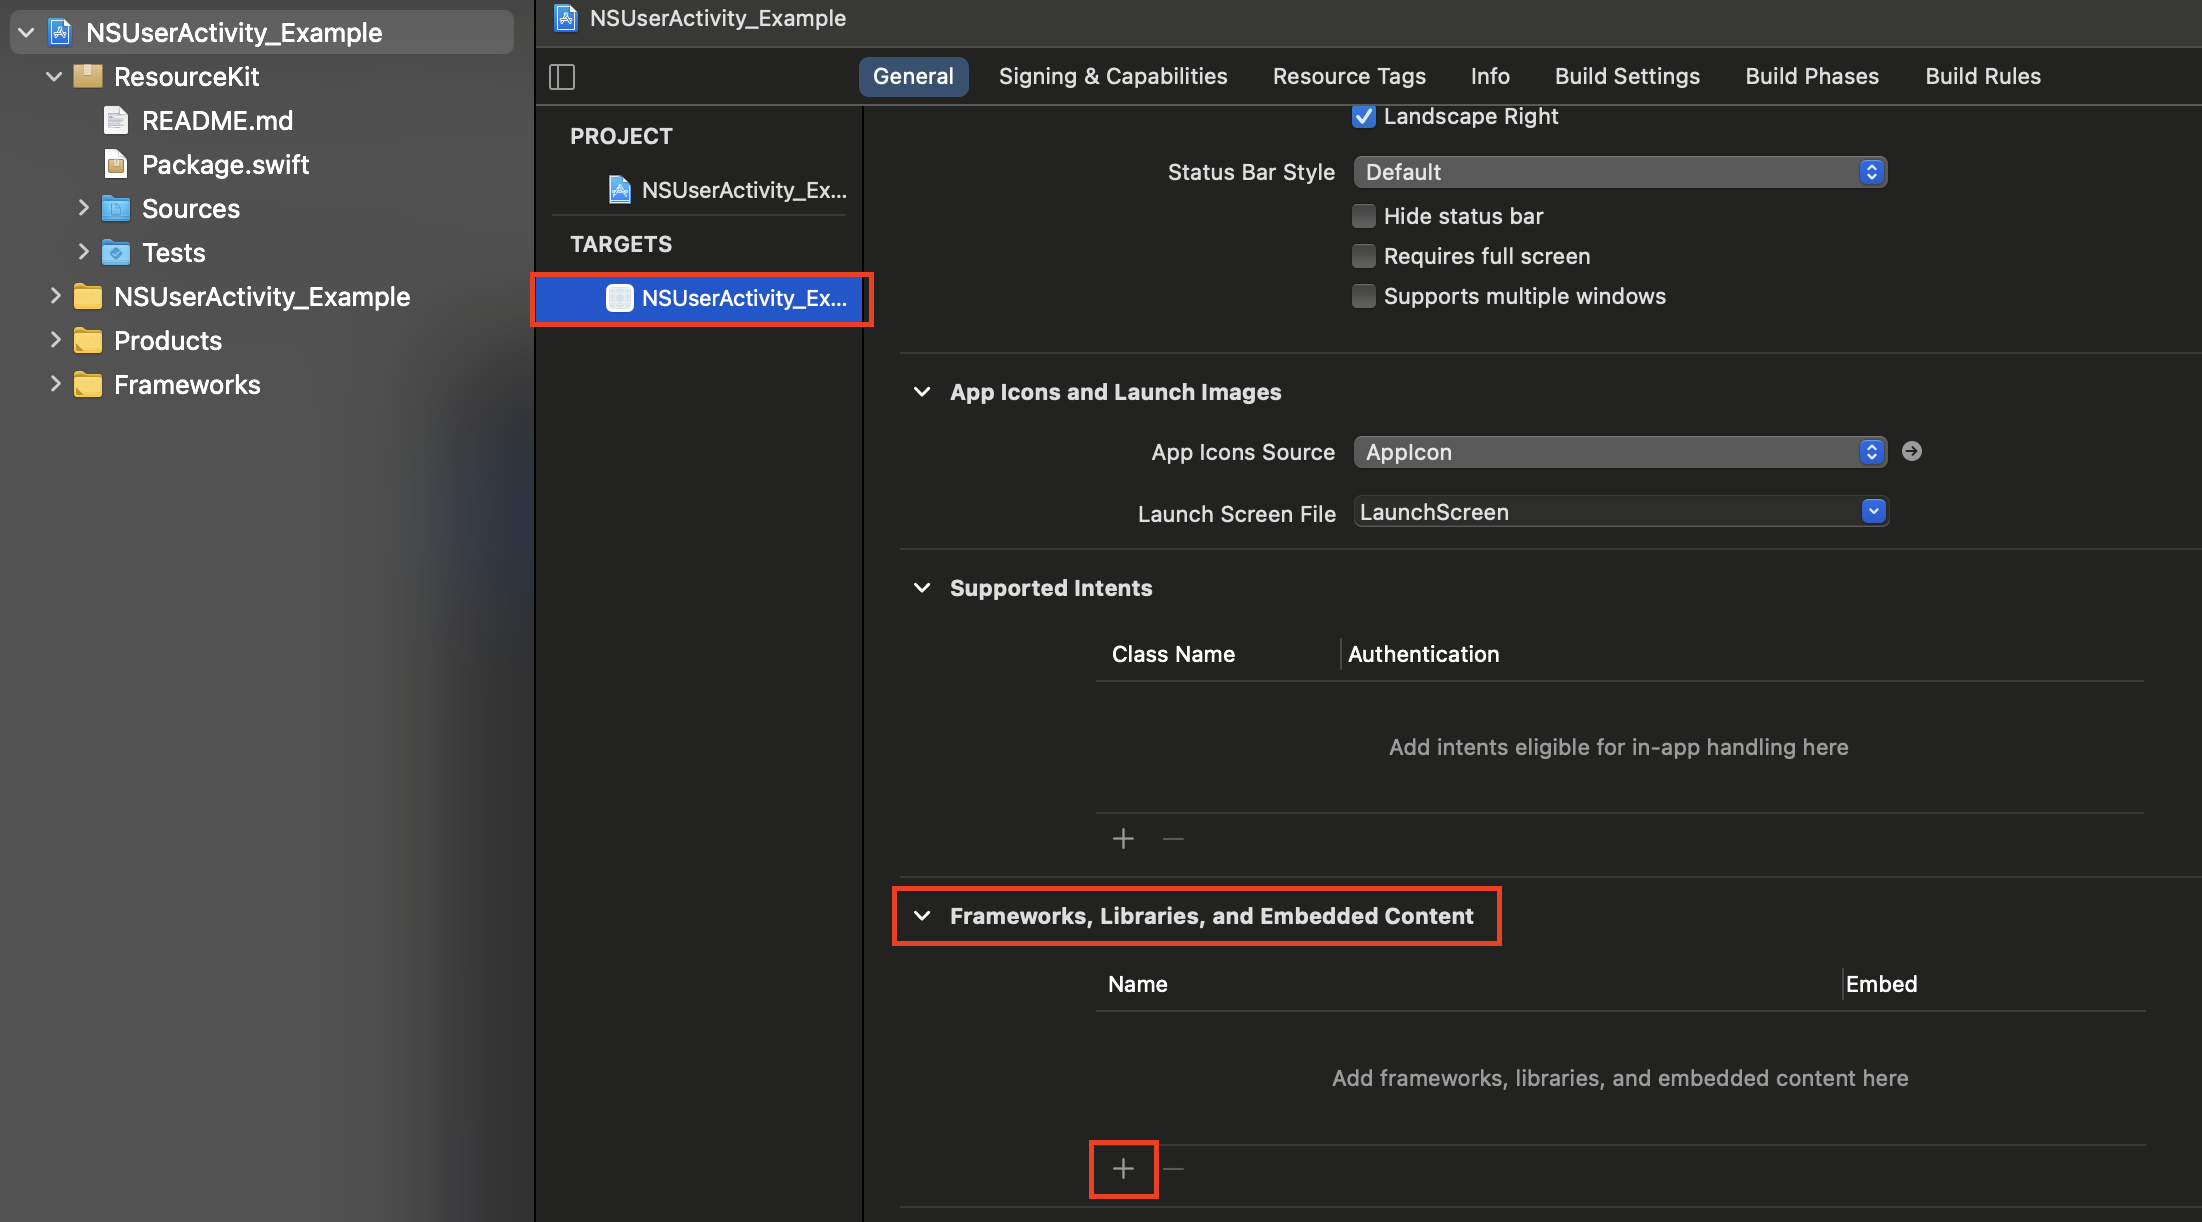
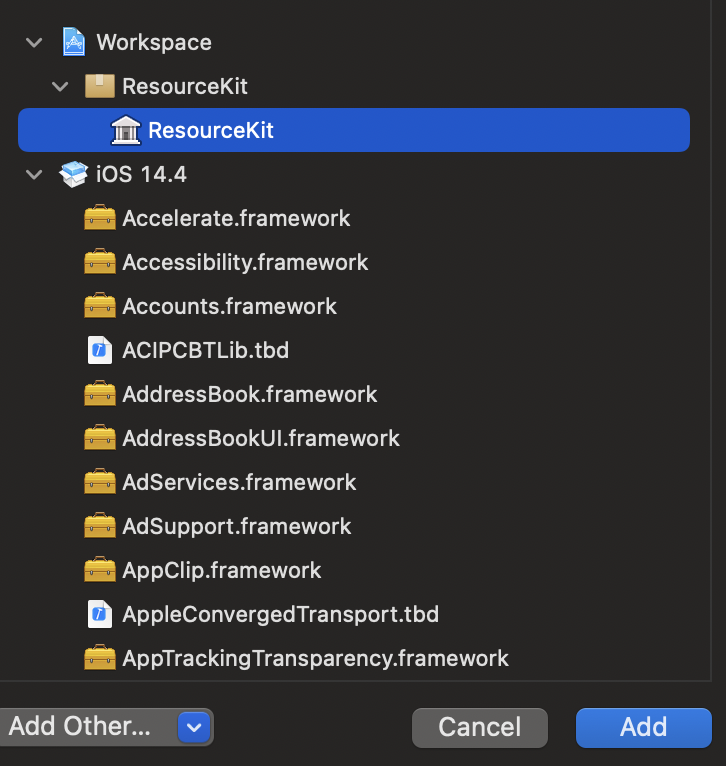
Framewoks, Libraries...섹션의 +버튼을 눌러줍니다. 그리고 ResoureKit을 선택 후 Add해줍니다.
# Package.swift수정하기
자 추가가 다 됐으면 다시 내 Swift Package에 있는 Package.swift를 수정해줘야하는데요.
import PackageDescription

let package = Package(
    name: "ResourceKit",
    products: [
        // Products define the executables and libraries a package produces, and make them visible to other packages.
        .library(
            name: "ResourceKit",
            targets: ["ResourceKit"]),
    ],
    dependencies: [
  ...
뭐 이런식으로 있을겁니다.
아래로 내리면 targets부분에
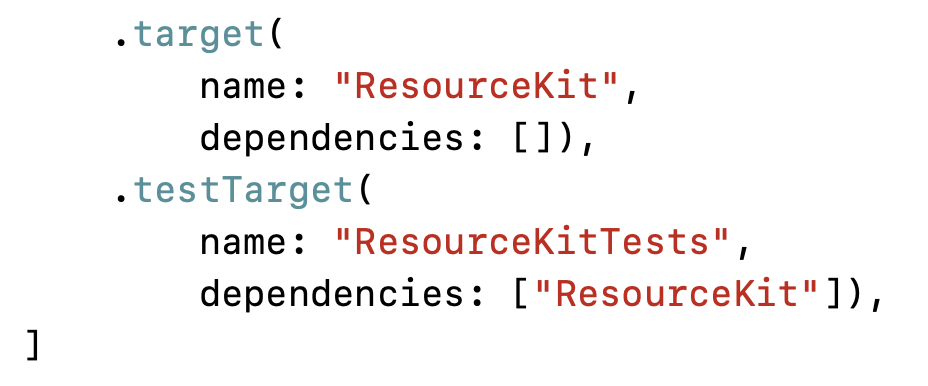
뭐 이런식으로 되어있을텐데요.
.target(
            name: "ResourceKit",
            dependencies: [],
            ✅ resources: [] ✅),
target에 resources파라미터를 추가해줍니다.
resources파라미터는 [Resource]타입을 받는데요.
Swift Package에는 Resource타입을 리턴하는 2가지 메소드가 있습니다.
1. copy
2. process
요 둘의 차이점은 Swift Package Resource - Copy와 Process의 차이점에서 보겠습니다.
글이 너무 길어져서 분리 ㅠㅠ
오늘은 process를 사용할거에요!!
resources: [.process("Images"), .process("myName.json")]),이렇게 디렉토리와 파일 하나를 넣어줬습니다.
# 사용하기
문서에는
let settingsURL = Bundle.module.url(forResource: "settings", withExtension: "plist")이렇게 사용하면 돼 ^^ 하는데

ㅋㅋ..
stackoverflow에 있는 코드를 넣어줍니다.
🙋 : Bundle이름이 왜 이따구야?


나는 ResourceKit넣었는디..
🧑💻 : 요 이름을 넣어줘야합니다.
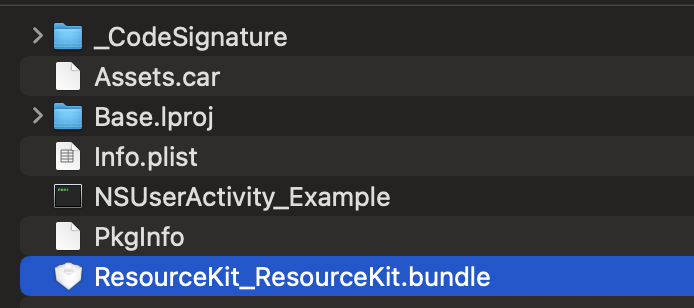
[리소스 불러오기]
let picture = Bundle.module.path(forResource: "walker", ofType: "jpg")!
let image = UIImage(named: picture)
뭐 이런식으로 해주면...

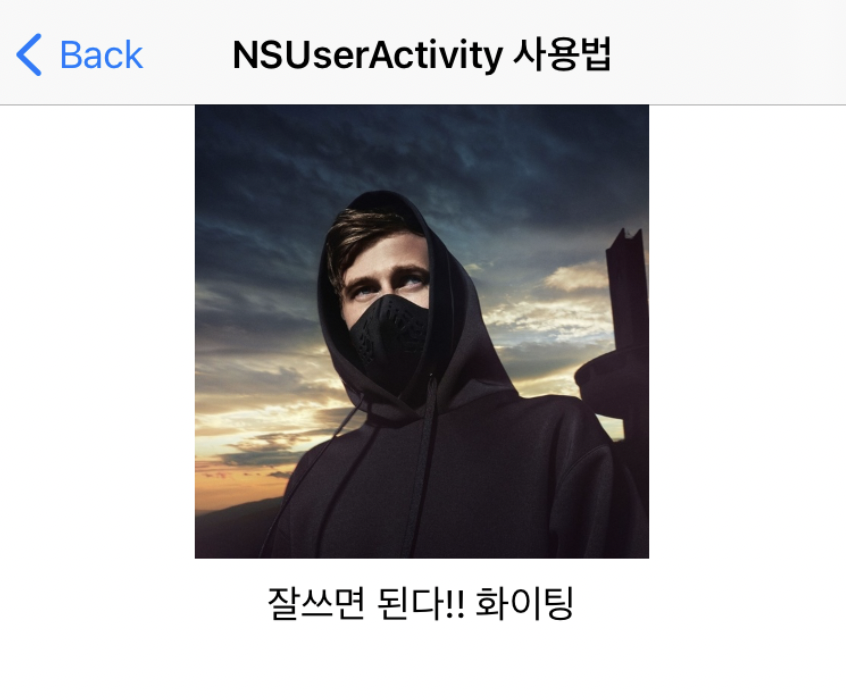
이미지가 잘 나오는 것을 볼 수 있습니닷
🙋 : 처음에 xcassets도 넣어줬는데..애는 어떻게 써?

resources: [.process("Images"), .process("myName.json")]),여기에 안넣어줘도돼?
🧑💻 : 네 안넣어줘도 됩니다. UIImage에 번들만 명시해주면 되가지구...ㅎ 아까 만든 module을
let image = UIImage(named: "zedd", in: ✅Bundle.module✅, compatibleWith: nil)넣어주기만 하면 됩니다.
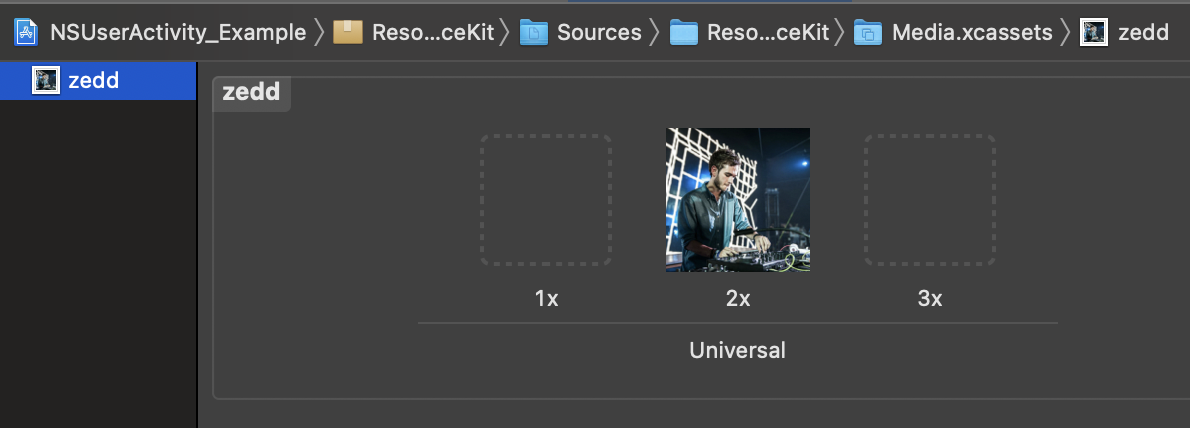

그럼 이렇게 사용가능!!
예전에 어디서 봤었는데..요 Swift Package에 테스트를 위한 mock json들을 다 넣어서 프로젝트에서 불러와서 사용하는게 인상깊더라구요 🤔
아무튼 오늘은 끝!!
혹시 글에 틀린점이 있다면 댓글 부탁드립니다~
참고
https://developer.apple.com/documentation/swift_packages/bundling_resources_with_a_swift_package
'공부' 카테고리의 다른 글
| HIG ) Inclusion (1) | 2021.06.12 |
|---|---|
| WWDC 21 ) Bring accessibility to charts in your app (2) | 2021.06.10 |
| Swift Package Resource - Copy와 Process의 차이점 (0) | 2021.05.15 |
| FlexLayout (2) (0) | 2021.05.05 |
| 앱 종료하기 with animation (2) | 2021.05.04 |
- np-hard
- 회고
- FLUTTER
- Git
- 피아노
- ios 13
- swift tutorial
- SwiftUI
- Accessibility
- swift delegate
- swift 공부
- swift3
- fastlane
- swift sort
- WWDC
- swift array
- np-complete
- WidgetKit
- Xcode
- UIBezierPath
- Swift
- 제이슨 파싱
- github
- WKWebView
- IOS
- Combine
- actor
- iOS delegate
- 스위프트 문법
- 스위프트
- Total
- Today
- Yesterday
